After a bit of thought, I've decided to write a short article on vintage jewelry repair. Most of this is common knowledge but there is always someone who needs a little info to go ahead with that repair. If you have decided to throw the piece out, why not try a little repair first? If you can live with a bit of disrepair, then this blog probably isn't for you. I do not reccomend working on a piece of jewelry in fine working condition, or a piece you can't live without. That being said, lets give it a go. COPPER-BRASS-The first item deals with copper and brass. Lots of bracelets, necklaces, and more vintage items contain these metals. A lot of these have long since lost their original coating and will rub of onto your skin. Brass will turn black on your skin and copper will turn green. Mostly due to the interaction of salt in your sweat. Two fixes that work quite well for both of these problems are clear nail polish or common "clear coats" sold in hardware stores. Please be aware that either of these may or may not give an allergic reaction if you are sensitive. And always wear gloves. Some are allergic but most are not. Coat the vintage item with this sticky coating on the inside part. Inside of cuff bracelet, bangle, ring, etc. A good rule of thumb is coat, let dry, coat a second time, let dry, and coat a third time and let dry. This should last quite awhile with no coloration to your skin.
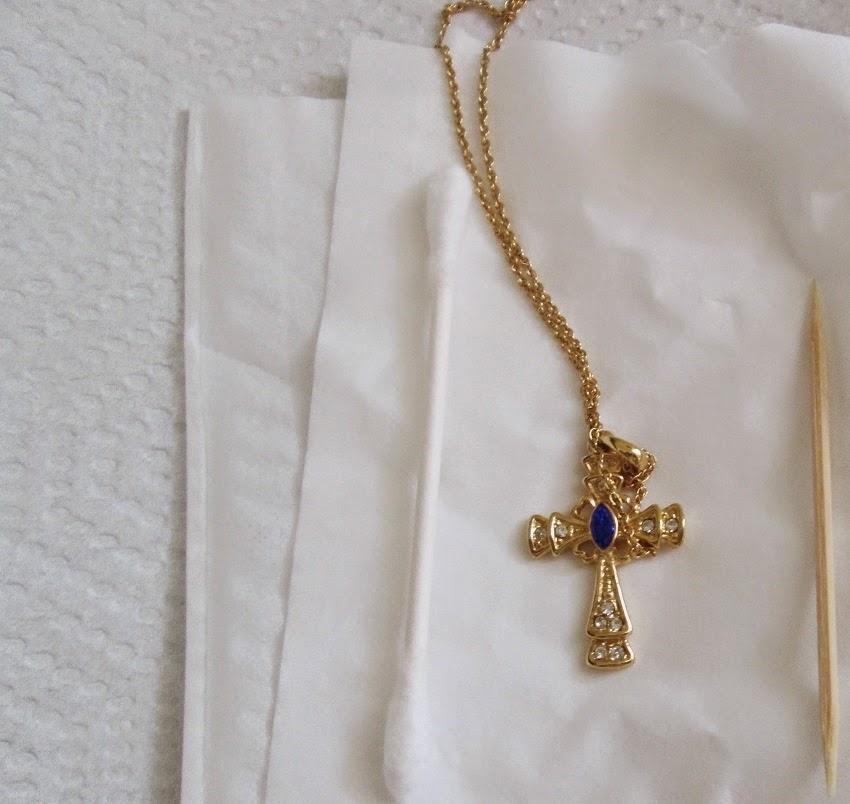
Don't set your item on a paper product or it will almost permanently stick to it. An old piece of wood, metal, or disposable plastic lid will do just fine. Fantastic way to be able to wear those forgotten pieces again! MISSING STONES AND STONES THAT HAVE FALLEN OUT. Next, vintage stones in jewelry. For glued stones, it is a fairly easy process. Say your favorite piece has just lost a stone. S..t! Now what? Well, check your local mall and ask for jewelry glue at any jewelry counter. Nearly all family department stores carry it as well as the new "five and dime stores" LOL.
You do not have to buy it at a jewelry store. Glue isn't stickier because it came from a jewelers! Get out your glue, your piece, your stones, and a damp piece of tissue or paper towel. Squeeze out just enough glue so that you see just the beginning of it coming out. Dab it on the setting. Remember, too much glue will gob the stone up. But try it because, it really isn't hard to do. Next, wet your finger tip by licking it and, touch the top of the stone. It should stick nicely to your finger. Place the stone into the glued setting and push down. Slide your finger to the left or right to release your stone from your finger. Wait ten seconds if the stone looks well placed. If not, take the stone out and retry. Take the damp (almost dry) paper towel or tissue and g-e-n-t-l-y wipe off any excess glue before it dries while pushing down lightly on the stone. Don't dry or use dry tissue or paper towel as it will stick to the glue. Let set overnight. May get it first time, may take a few tries. But that piece is again useable. Add another stone from another piece if you prefer. For a missing stone in a prong set piece, simply pry two prongs to the up position, drop in the new stone, and then push the two prongs back down (no need for glue). Don't be afraid to try these suggestions. You're probably not even using the piece. CLOSURE PINS THAT DROOP TO THE BOTTOM. (see pictures. Had to squeeze both ways. Now has proper pin placement)


Not really annoying or uncommon in a vintage piece, there is a fix that will work 75% of the time. It's a pretty safe repair and worth a try if your pin drops to the bottom and it annoys you. You simply need to go to the hinged part of the pin (the opposite end of the "pointy" part). The pin is held in by a small "wall" on each side with the pin part being in the middle. Leave your pin in the open position, preferably as far open as it will go. Take a pair of flat pliers or a flat "plier looking" crafting tool ( I forget the name of the item, also available at your local five and dime in the craft section) and squeeze these two walls together. Close your pin and it should be back up in position. If not, give it another squeeze. Occasionally, there will also be a small piece of metal in front of these two walls. You can also squeeze this in front to back instead of side to side like you did the walls. As a caution, do not hold the piece and bend the setting left or right as this may pull the closure right off. Just put your pliers near the top of the walls without holding the piece and squeeze. This may leave a mark or may not, but the pin should be back up and in place 75% of the time. If not, no harm done and you will still be able to wear it with old droopy. WIGGLY PIN CLOSURES. Ever get a brooch, scarf clip, etc. that wiggles as you're grasping the pin? That is generally due to the piece that connects the pin housing to the center of the piece. Where the bar attaches in other words. In vintage jewelry, these pieces are generally made of a soft metal. You can actually take a small metal object and press down on the edges of this connector to "fan out" this metal onto the bar or connector. This is why it was loose, the use had just shrunk the edges a bit and it now wiggles. Connectors will generally look round or square and I suggest you press on the edges and NOT the middle. Be careful not to let your pusher piece slip and hurt yourself. Just push down on an edge at a time and see if it stops wiggling. If it does, you don't have to continue. This fix WILL scratch the piece a bit and may look a bit messy in the middle when you're done so, only do this if you don't mind the messy look. I'll post a couple of pictures of these suggestions for those brave enough to try them. REMEMBER: Any of these methods as with any repair can occasionally go wrong. Please wear gloves and eye protection when using any of these methods. I am not an expert but have personally used these methods for repair. All of my suggestions should be used at your own discretion and I won't accept responsibility for any problems arising from these methods. Please use at your own risk. Have a great day! Rob Marshall at http://